Getting started
API reference
Templates
Webhook links
Webhook link actions
The main purpose of webhook links is to execute actions based on the incoming request data. After the request passes all filters, the email actions will be executed.
What are actions?
At the moment, we support email sending actions through SMTP. This means that you can email specific recipients when the incoming request passes all filters.
Our service will build the email content based on the template you have selected. It will use the data from the incoming request to fill the template placeholders.
Before you can create an action, you need to have at least one email template and SMTP integration.
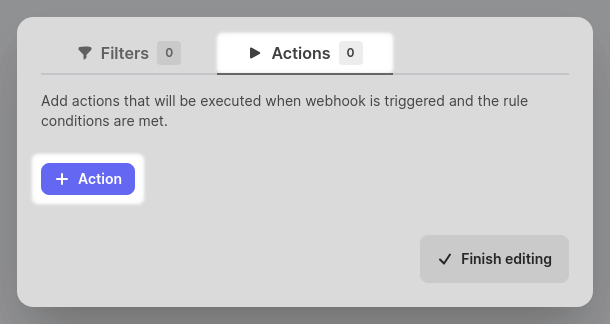
At least one action is required for every webhook link rule.


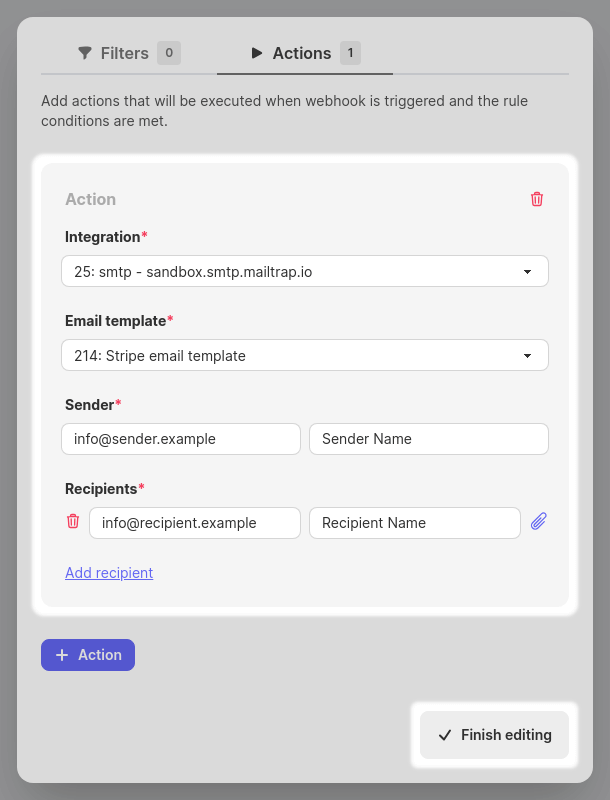
Each action consists of the following parts:
| Name | Required | Description |
|---|---|---|
| Integration | Yes | Choose the SMTP integration you want to use for sending emails. Before you can create an action, you need to have at least one SMTP integration. |
| Email template | Yes | Choose the email template you want to use for sending emails. Before you can create an action, you need to have at least one email template. |
| Sender email | Yes | Sender's email address. It must be a valid email address. Also, make sure to use the email address that is associated with your SMTP |
| Sender name | No | Sender's name. |
| Recipient email | Yes | Recipient's email address. It must be a valid email address. At least one recipient is required. Placeholders are supported. |
| Recipient name | No | Recipient's name. Placeholders are supported. |
| Attachment | No | You can select a PDF template as an attachment. The incoming request data will be used to fill the PDF template. Attachments are optional. |
Every action can have multiple recipients and attachments.
Using placeholders in the recipient fields
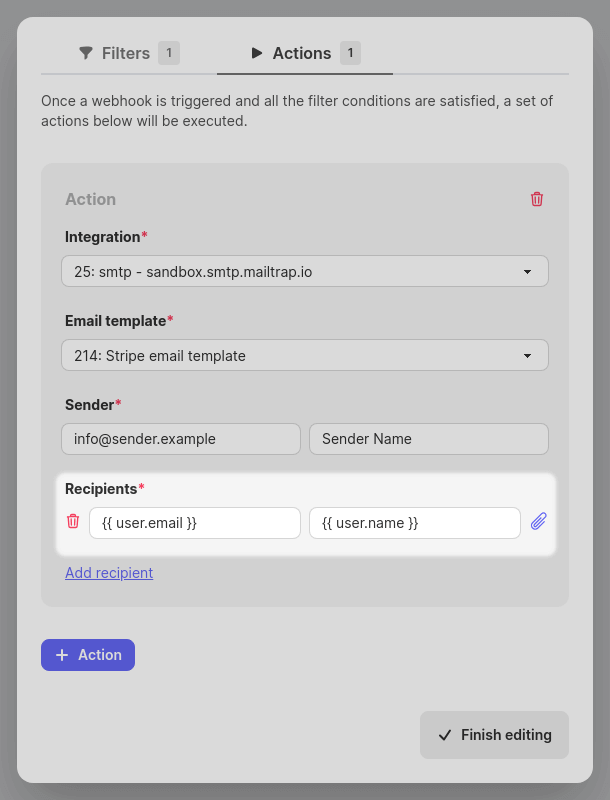
Sometimes you need to send emails based on the data from the incoming request. You can use placeholders in the recipient fields. The placeholders will be replaced with the incoming request data.
The following fields support placeholders:
- Recipient email.
- Recipient name.

Example: recipient email placeholder
Instead of using a static email address, you can use the
{{ user.email }}
placeholder, and it will be replaced with the [email protected] from the incoming request below.
{
  "user": {
    "email": "[email protected]",
    "name": "John Doe",
  }
}